MacOS command line tools can be handy for automating tasks and they’re also a great way to have more fun with Swift, so here’s how to set one up:
Creating the project
1. Create a new Xcode project, select MacOS and command line
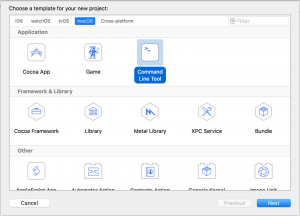
2. Give your app a name, and make sure Swift is selected as the Language
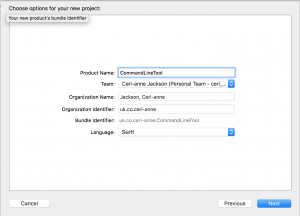
3. Click Next and choose where to save your project.
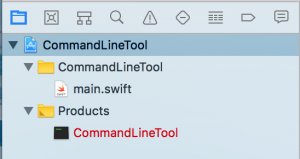
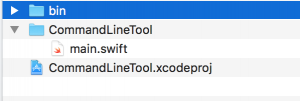
You now have an Xcode command line project! The main.swift file is where Xcode will look to run your code, similar to the main function in Java or C# or the AppDelegate in iOS. There will be a “Hello World” print statement there already.
Under Products there is an executable file called CommandLineTool which is red. This is the executable file created when we build the project. from the command line. It’s red because we haven’t built it yet
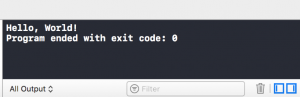
4. Build and run the project. The CommandLineTool product will now change to black and the following output should display in the output window
Running from the Command Line
1. In File Inspector (⌥⌘1), check where the CommandLineTool Product is being saved. It will be a long location ending in
/Build/Products/Debug/CommandLineTool
2. Navigate to this Debug folder and run theCommandLineTool by typing in ./CommandLineTool
[simterm]$ ./CommandLineTool
Hello, World!
[/simterm]
3. Try going into Xcode and changing the program slightly, for example:
4. Build in Xcode (don’t miss this step out otherwise the executable won’t update). There’s no need to run in Xcode – just build ( ⌘ B ).
5. Go back to terminal and re-run to see if it works:
[simterm]$ ./CommandLineTool
Hello, World! This is my command line tool
[/simterm]
This location isn’t very convenient to to run our tool from so we can move it to somewhere better.
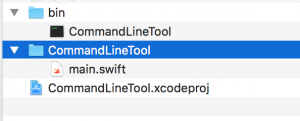
6. In either Finder or Terminal, navigate to the CommandLineTool folder and create a folder called bin. Your CommandLineTool folder should now look like this:
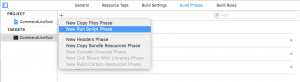
7. In Xcode, go to the CommandLineTool target and Build Phase and add a new Run Script Phase
8. Add the following script cp ${BUILT_PRODUCTS_DIR}/CommandLineTool ${PROJECT_DIR}/bin`
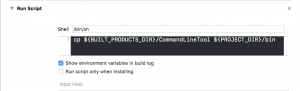
This will copy the executable when we build our project and paste it in our bin folder.
9. Build the project and you should see the executable in your bin directory
10. Navigate to the project folder in terminal and you can run your CommandLineTool by typing in bin/CommandLineTool
[simterm]$ bin/CommandLineTool
Hello, World! This is my command line tool
[/simterm]
Adding arguments
Command Line
1. We can pass arguments in to our program when we run it from the command line. We just need to add a space and then the arguments. Let’s pass in a name:
[simterm]$ bin/CommandLineTool Ceri
Hello, World! This is my command line tool
[/simterm]
We’re not doing anything with this argument so nothing different happens.
2. Update main.swift to print out any arguments we pass in:
3. Build and run from the command line, passing in arguments separated by spaces
[simterm]$ bin/CommandLineTool Hello 23
[“bin/CommandLineTool”, “Hello”, “23”]
Hello, World! This is my command line tool
[/simterm]
Note that the first argument is the program name, and the arguments we passed in are 2nd and 3rd. Also, all arguments are strings.
4. Amend the code to this:
5. Run again and you’ll see each argument printed out
[simterm]$ bin/CommandLineTool Hello 23
Hello
23
Hello, World! This is my command line tool
[/simterm]
Xcode
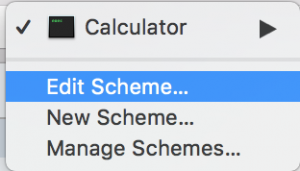
1. To add an argument in Xcode, click on Edit Scheme
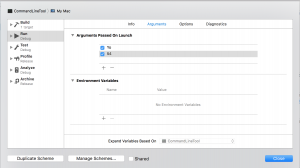
2. In Run/Arguments add an argument to Arguments Passed On Launch and click Close
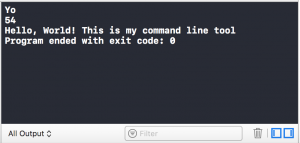
3. Now when you run the project in Xcode you’ll see the arguments printed out in the Output window
And that’s it! Now you can develop as much Swift code as you like as normal. Just kick it all off in main.swift. Happy Swifting 🙂
The code for this project is on Github: https://github.com/Ceri-anne/CommandLineTool